A Flutter drag and drop UI builder lets users build their own layouts by moving and placing widgets on a screen, without writing code. It’s built using Draggable and DragTarget to move things around, and Stack and LayoutBuilder to place them.
Want to build your own no-code editor like Notion or Trello?
This guide shows what it takes to build a working Flutter drag and drop UI builder, whether you’re building it yourself or looking for a team that can.
You’ll see the real code, a working canvas, and a GitHub repo behind it.

Tools and Widgets for a Flutter Drag and Drop UI Builder
Before going into code, let’s see the tools and components you’ll be working with.
Technologies & Tools
- Flutter SDK and Dart
- A ready-to-fork GitHub project
Key Widgets for Drag-and-Drop UI Builder
- Draggable: Makes widgets draggable.
- DragTarget: Defines drop areas.
- Stack: To position widgets on a canvas.
- LayoutBuilder: Allows responsive & flexible layouts.
State Management
- We’ll use either setState() or Provider for managing layout data.
These widgets will allow us to build a Flutter draggable UI, complete with touch support and real-time positioning.
We’ll also go through Flutter drag target examples to handle drop zones and interaction logic.
By combining these tools, you can build a working Flutter drag and drop UI builder easily.
How to Set Up Your Flutter Drag and Drop UI Builder Project
Let’s start your project from scratch. To make things easy, we’ve created a starter Flutter drag and drop UI builder tutorial GitHub repo you can clone right away.
Folder Structure Overview:
/lib
├── main.dart
├── models/
├── widgets/
├── screens/
What’s Inside?
- A clean layout using MaterialApp, Scaffold, and a blank Canvas screen.
- Ready-to-use Draggable and DragTarget components.
- A draggable dynamic UI canvas in Flutter where you can drop and arrange widgets.
Whether you want to experiment or directly integrate into your app, this project gives you everything you need to begin fast.
What Powers a Flutter Drag and Drop UI Builder
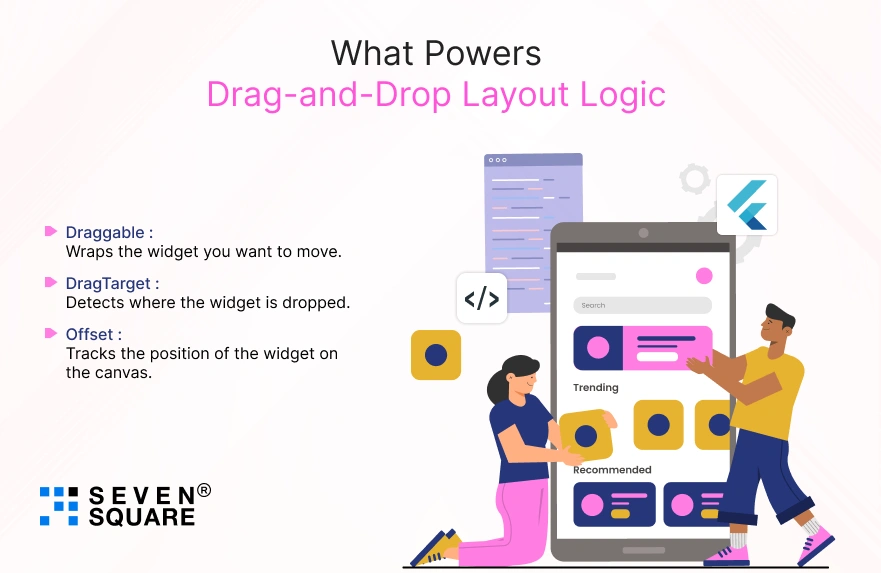
At the core of every Flutter drag-and-drop UI is the smooth interaction between Draggable and DragTarget.
These two widgets allow users to pick up a widget, move it across the screen, and drop it exactly where they want.
Here’s how it works:
- Draggable: Wraps the widget you want to move.
- DragTarget: Detects where the widget is dropped.
- Offset: Tracks the position of the widget on the canvas.
Basic Drag-and-Drop Implementation:
            class DraggableWidget extends StatelessWidget {
            final Offset offset;
            final Widget child;

            DraggableWidget({required this.offset, required this.child});

            @override
            Widget build(BuildContext context) {
            return Positioned(
              left: offset.dx,
              top: offset.dy,
              child: Draggable(
                data: offset,
                feedback: Material(
                  child: Opacity(opacity: 0.7, child: child),
                ),
                childWhenDragging: Opacity(opacity: 0.2, child: child),
                child: child,
              ),
            );
            }
          }
Then you need a DragTarget to catch and reposition the widget:
            DragTarget<Offset>(
              builder: (context, candidateData, rejectedData) {
              return Container(
                width: 500,
                height: 500,
                color: Colors.grey.shade100,
              );
              },
              onAcceptWithDetails: (details) {
              // Update widget position here
              },
            ),
Add visual feedback like shadows or highlights when dragging to improve UX. You can also snap widgets to a grid for pixel-perfect layout control.
Use this logic as the base of your Flutter drag and drop UI builder.
How to Build the Flutter Drag-and-Drop UI Canvas?
Let’s build a flexible layout canvas where users can drag and place widgets dynamically.
For this, we use a combination of Stack, LayoutBuilder, and a layout model to track widget positions.
Why LayoutBuilder + Stack?
- LayoutBuilder helps us get the size constraints of the canvas.
- Stack lets us place widgets freely at any position.
- We use a model to hold widget types and their Offset.
Basic Canvas Setup Example:
            class DragCanvas extends StatefulWidget {
              @override
              _DragCanvasState createState() => _DragCanvasState();
            }

            class _DragCanvasState extends State<DragCanvas> {
              List<LayoutItem> items = [];

              @override
              Widget build(BuildContext context) {
              return LayoutBuilder(
                builder: (context, constraints) {
                  return Stack(
                    children: items
                      .map((item) => DraggableWidget(
                              offset: item.offset,
                              child: item.widget,
                            ))
                        .toList(),
                  );
                },
              );
              }
            }
LayoutItem Model:
            class LayoutItem {
              final Widget widget;
              Offset offset;

              LayoutItem({required this.widget, required this.offset});
            }
This structure allows your Flutter drag and drop UI builder to support real-time widget placement with flexibility.
Why Save Your Flutter Drag and Drop UI With Local Storage
To make your Flutter drag and drop UI useful for end-users, it must remember widget positions across sessions. This is where layout persistence comes in.
Three Options:
- shared_preferences: For small, local data.
- sqflite: For storing layout data as rows (great for offline apps).
- Firebase: Cloud-based, real-time syncing across devices.
Example: Saving Layout with shared_preferences
            import 'package:shared_preferences/shared_preferences.dart';
            import 'dart:convert';

            Future saveLayout(List items) async {
              final prefs = await SharedPreferences.getInstance();
              final jsonData = jsonEncode(items.map((e) => {
              'dx': e.offset.dx,
              'dy': e.offset.dy,
              }).toList());
              prefs.setString('layout', jsonData);
            }
This allows Flutter layout persistence, so users can save progress in your Flutter drag and drop UI builder and reload it anytime.
You can expand this by storing widget types, labels, colors, and even exporting to JSON for external usage.
Here’s the Full Code for the Drag & Drop UI Builder (With Dynamic Layouts) in Flutter.
How to Add Custom Widgets to Your Flutter Drag and Drop UI Builder
Want to make your builder do more than just move boxes? Let’s allow users to pick and drag custom widgets like text fields, buttons, or images.
Use a floating toolbar or side panel as a widget picker. Once a user taps or drags a widget, it gets added to the canvas.
Widget Picker Example:
            class WidgetPicker extends StatelessWidget {
            final Function(Widget) onWidgetSelected;

            WidgetPicker({required this.onWidgetSelected});

            @override
            Widget build(BuildContext context) {
            return Column(
              children: [
                ElevatedButton(
                  onPressed: () => onWidgetSelected(Text('Text Widget')),
                  child: Text('Add Text'),
                ),
                ElevatedButton(
                  onPressed: () => onWidgetSelected(Image.network('https://via.placeholder.com/100')),
                  child: Text('Add Image'),
                ),
              ],
            );
            }
          }
This makes your project a real Flutter drag and drop UI builder and lets users personalize the UI freely, which is ideal for custom drag and drop widgets in Flutter apps.
Want a fully featured Flutter App? Contact Us Now!
Where to Use a Flutter Drag and Drop UI Builder
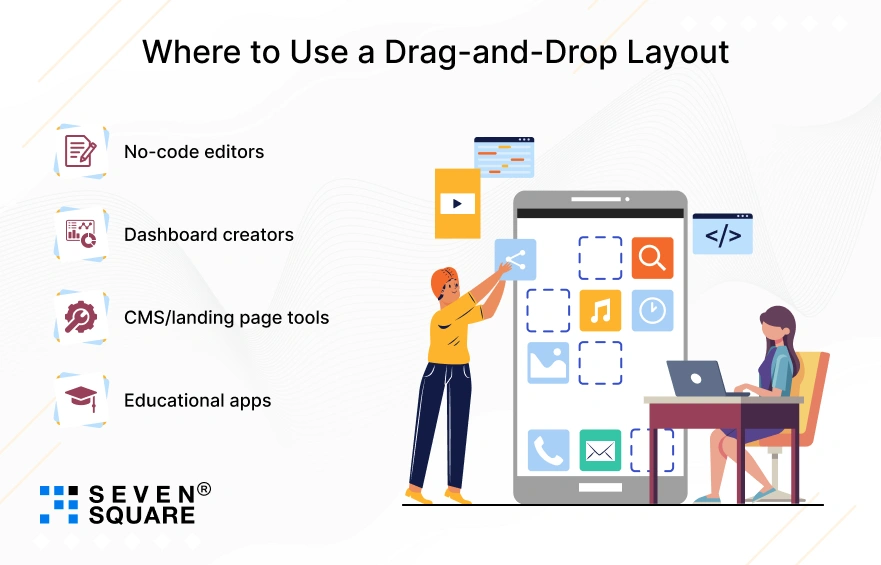
Here are powerful use cases for your UI builder:
- No-code editors: Build platforms like Webflow or Glide with visual design tools.
- Dashboard creators: Let users create their analytics dashboards.
- CMS/landing page tools: Dynamic page builders with widgets like text, images, and charts.
- Educational apps: Drag-based quizzes, learning modules, or UI tools for kids.
If you’re looking to build a Flutter drag and drop UI builder that provides user customization, this is the perfect foundation.
The flexibility makes it ideal for both internal tools and customer-facing products.
UX Tips for Your Flutter Drag and Drop UI Builder
Here’s how to improve UX in a Flutter drag and drop UI:
- Add animations using AnimatedPositioned, Hero, or AnimatedSwitcher.
- Use guidelines or snapping to help users align elements cleanly.
- Mobile-first touch targets: Increase padding around draggable areas.
- Keyboard & mouse support: Make your app friendly for desktop users too.
These small improvements take your builder from functional to delightful. Especially for mobile-first apps, Flutter drag drop mobile support is key.
Performance Tips for a Flutter Drag and Drop UI Builder
If you’re building a large-scale Flutter drag and drop UI, you’ll want to keep it efficient.
- Lazy load widgets in view.
- Use RepaintBoundary to isolate repaints.
- Use const and keys smartly to reduce rebuilds.
- Track state properly with efficient data models.
Following these performance tips ensures your Flutter drag and drop UI stays smooth, even with many elements on the canvas.
FAQs
- To create a draggable UI in Flutter, use the Draggable and DragTarget widgets to move and drop components dynamically across the screen.
- Yes, you can build a no-code layout editor in Flutter using Stack, LayoutBuilder, and dynamic models to allow drag-and-drop widget placement.
- Create a Flutter dynamic layout builder using Stack for positioning and LayoutBuilder to get canvas constraints, allowing free widget placement.
- Yes, you can build a custom drag and drop widget system in Flutter by letting users select and place Text, Images, or Buttons dynamically.