Are you looking for the perfect beginner-to-intermediate Flutter project?
A weather app Flutter, is not only fun to build but also packs real-world functionality that impresses clients, users, and hiring managers alike.
In this Flutter weather app tutorial, you’ll learn how to build a sleek, real-time weather app from scratch, complete with modern UI, dynamic weather data, and API integration using OpenWeatherMap.
Whether you’re a developer expanding your Flutter skills or a business aiming to launch a weather-based utility app, this guide covers everything step-by-step.
And here you can learn how to build a weather app in Flutter with full code, real-time data, and its GitHub repository so anyone can use it easily.
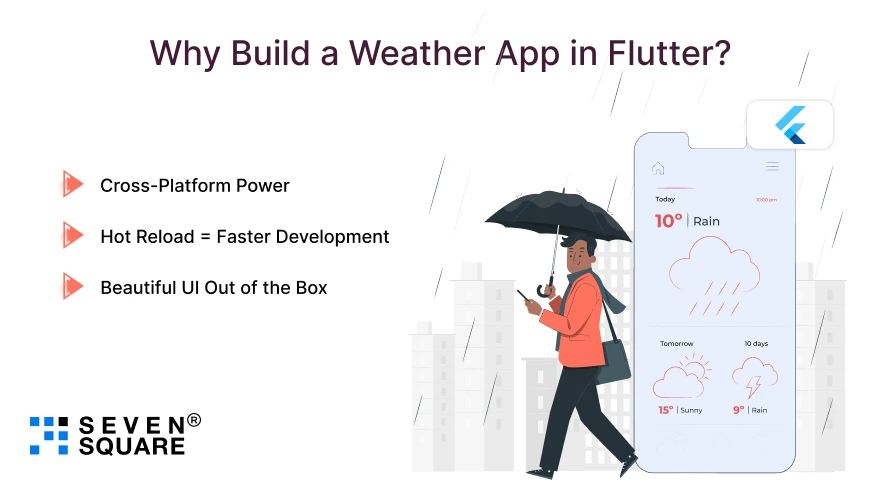
Why Build a Weather App in Flutter?

Whether you’re building for iOS, Android, or both, Flutter offers exceptional speed and flexibility.
Here’s why it’s ideal for building a weather app:
- Cross-Platform Power: With a single codebase, your weather app runs on both Android and iOS to save you time and resources.
- Hot Reload = Faster Development: See code changes in real time, which makes designing and debugging incredibly efficient.
- Beautiful UI Out of the Box: With Material Design (Android) and Cupertino widgets (iOS), you can create a clean weather app UI that feels native on every device.
If you’re looking to build Flutter apps fast that look professional and perform well, a Flutter weather app is a great place to start.
What Tools & Prerequisites Do You Need to Set Up?
Before we get into to build weather app Flutter code, make sure you’ve got the essentials ready. Here’s what you’ll need to set up:
- Flutter SDK Installed (Latest stable version)
- An IDE like Visual Studio Code or Android Studio
- OpenWeatherMap API Key: Free to generate from openweathermap.org
This setup will help you call the weather app Flutter API, fetch live weather data, and connect it with your UI.
We’ll also guide you through the Flutter OpenWeatherMap setup step-by-step, so don’t worry if you’re new to APIs.
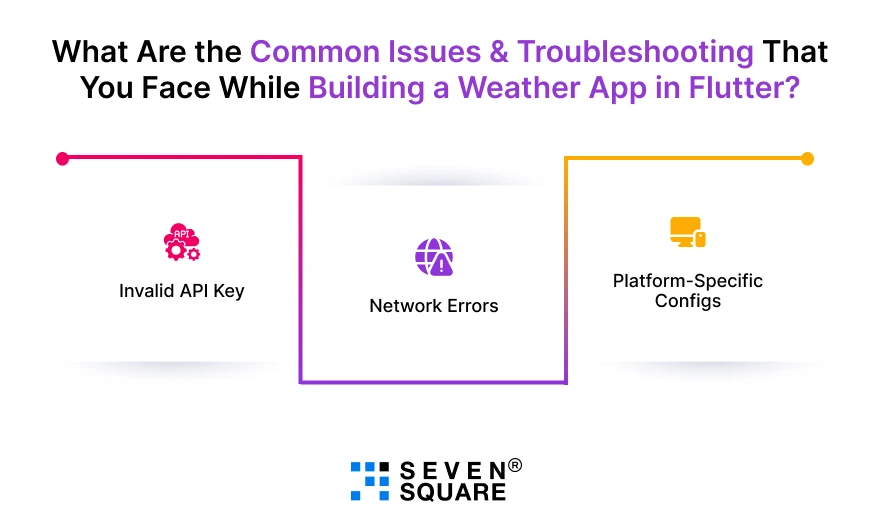
What Are the Common Issues & Troubleshooting That You Face While Building a Weather App in Flutter?

Ran into a problem while building your Flutter weather app?
You’re not alone! Here are some common errors and how to fix them:
- Invalid API Key: Double-check your OpenWeatherMap key and make sure it’s correctly added to your code. Also, avoid hardcoding it in production.
- Network Errors: If your app isn’t fetching data, test your internet connection and wrap your API calls in error-handling blocks using try-catch.
- Platform-Specific Configs:
- For iOS, make sure you’ve added location and internet permissions in the Info.plist.
- For Android, update your AndroidManifest.xml to allow internet access.
Many developers struggle with Flutter OpenWeatherMap errors or face the dreaded Flutter app not showing data issues, but most of these are simple fixes once you understand where to look.
How to Design the Weather App UI in Flutter?
A beautiful weather app in Flutter needs more than just functional code; it needs an eye-catching, responsive design that works across all devices.
Here’s what we’ll add to the UI:
- Responsive Layout using MediaQuery and SafeArea.
- Custom Fonts & Weather Icons for visual clarity.
- Gradient Background to reflect weather moods (sunny, cloudy, rainy).
You can create a weather app Flutter UI that looks professional with just a few widgets
Sample UI Code:
            import 'package:flutter/material.dart';
            class WeatherHomePage extends StatelessWidget {
                final String city;
                final double temperature;
                final String weatherIcon;
                final String condition;

                const WeatherHomePage({
                super.key,
                required this.city,
                required this.temperature,
                required this.weatherIcon,
                required this.condition,
                });

                @override
                Widget build(BuildContext context) {
                return Scaffold(
                  body: Container(
                    decoration: const BoxDecoration(
                      gradient: LinearGradient(
                        colors: [Colors.blue, Colors.lightBlueAccent],
                        begin: Alignment.topCenter,
                        end: Alignment.bottomCenter,
                      ),
                      ),
                    child: SafeArea(
                      child: Center(
                        child: Column(
                          mainAxisAlignment: MainAxisAlignment.center,
                          children: [
                            Text(
                              city,
                              style: const TextStyle(fontSize: 36, color: Colors.white),
                            ),
                            const SizedBox(height: 16),
                            Image.network(
                                'https://openweathermap.org/img/wn/$weatherIcon@2x.png',
                              width: 100,
                            ),
                              Text(
                                '${temperature.toStringAsFixed(1)}°C',
                              style: const TextStyle(fontSize: 48, color: Colors.white),
                            ),
                            const SizedBox(height: 10),
                            Text(
                              condition,
                              style: const TextStyle(fontSize: 24, color: Colors.white),
                            ),
                          ],
                        ),
                      ),
                    ),
                  ),
                );
                }
              }
This code builds a beautiful Flutter weather app UI that auto-adjusts across screen sizes and looks polished for production.
How to Fetch Real-Time Weather Data Using OpenWeatherMap API?
To get live weather data, we’ll connect our app to the OpenWeatherMap API. It’s free and easy to use.
Steps to Follow:
- Register at https://openweathermap.org/api.
- Create a new app and generate your API key.
- Use the following API endpoint:
https://api.openweathermap.org/data/2.5/weather?q=London&appid=YOUR_API_KEY&units=metric
Sample API Call in Flutter:
           import 'dart:convert';
            import 'package:http/http.dart' as http;

            Future<Map<String, dynamic>> fetchWeather(String city) async {
              const apiKey = 'YOUR_API_KEY';
              final url = Uri.parse(
                'https://api.openweathermap.org/data/2.5/weather?q=$city&appid=$apiKey&units=metric',
              );

              try {
              final response = await http.get(url);
              if (response.statusCode == 200) {
                return json.decode(response.body);
              } else {
                throw Exception('Failed to load weather data');
              }
              } catch (e) {
              throw Exception('Network error');
              }
            }
This example covers the core of a Flutter weather app OpenWeatherMap API example.
It shows you how to work with async calls, HTTP requests, and error handling, all important for a real-time weather app in Flutter.
How to Display Weather Info in Real-Time?
After fetching the data, it’s time to parse JSON and display weather info like temperature, condition, and location.
Real-Time Weather Display Code:
           import 'package:flutter/material.dart';

            class WeatherDataWidget extends StatelessWidget {
              final Map weatherData;

              const WeatherDataWidget({super.key, required this.weatherData});

              @override
              Widget build(BuildContext context) {
              final temp = weatherData['main']['temp'];
              final city = weatherData['name'];
              final icon = weatherData['weather'][0]['icon'];
              final description = weatherData['weather'][0]['description'];

              return WeatherHomePage(
                city: city,
                temperature: temp,
                weatherIcon: icon,
                condition: description,
              );
              }
            }
This widget makes it easy to show live weather data in Flutter with a modular structure. You can update the UI with user input or geolocation.
To allow live city search, you can add a TextField and call fetchWeather(city) dynamically.
Complete Code to build a weather app in Flutter with Real-Time API.
Why Choose Seven Square to Build Your Flutter App?
Whether you’re looking for expert collaboration, launch an MVP, or want a real-time weather app, Seven Square is your trusted tech partner.
We specialize in Flutter app development, API integrations, and custom real-time weather solutions that are scalable, beautiful, and user-centric.
- We build powerful cross-platform apps using Flutter for both Android & iOS with clean code, modern UI, and lightning-fast performance.
- From getting your API key to handling real-time data and weather forecasting, we integrate APIs like OpenWeatherMap, WeatherAPI, or AccuWeather according to the requirements of your project.
- Our design team creates beautiful Flutter weather app UIs that are responsive, theme-based (sunny, rainy, cloudy), and match your brand identity.
- We build features like live weather updates, geolocation tracking, and city search using Flutter and advanced state management.
Trying to build a real-time Flutter App? Contact Us Now!
FAQs
- Yes, we included Flutter weather app tutorial full code on GitHub.
- It comes with API integration, responsive UI, and live weather updates. You can clone it, modify it, and deploy it easily.
- Use a responsive layout, background gradients, and weather icons to match the weather condition.
- Flutter’s Material and Cupertino widgets make it easy to build a beautiful weather app UI that feels native across Android and iOS.
- To show real-time weather data, make async API requests using the http package and update the state with setState() or Provider.
- You can also enable live city search or geolocation-based weather fetching.
- Yes, OpenWeatherMap is popular but you can integrate WeatherAPI, AccuWeather, Climacell, or Tomorrow.io into your Flutter weather app by adjusting the API endpoints and data parsing logic.