Most React apps today have more than one type of user: admins, staff, customers, or guests.
Yet, many developers still rely on static navigation menus that look the same for every user, regardless of permissions.
This means security risks, messy UI, and a poor user experience.
That’s where role-based menu rendering in ReactJS comes in.
With a role-aware menu, you can show exactly what each user should see, no more, no less.
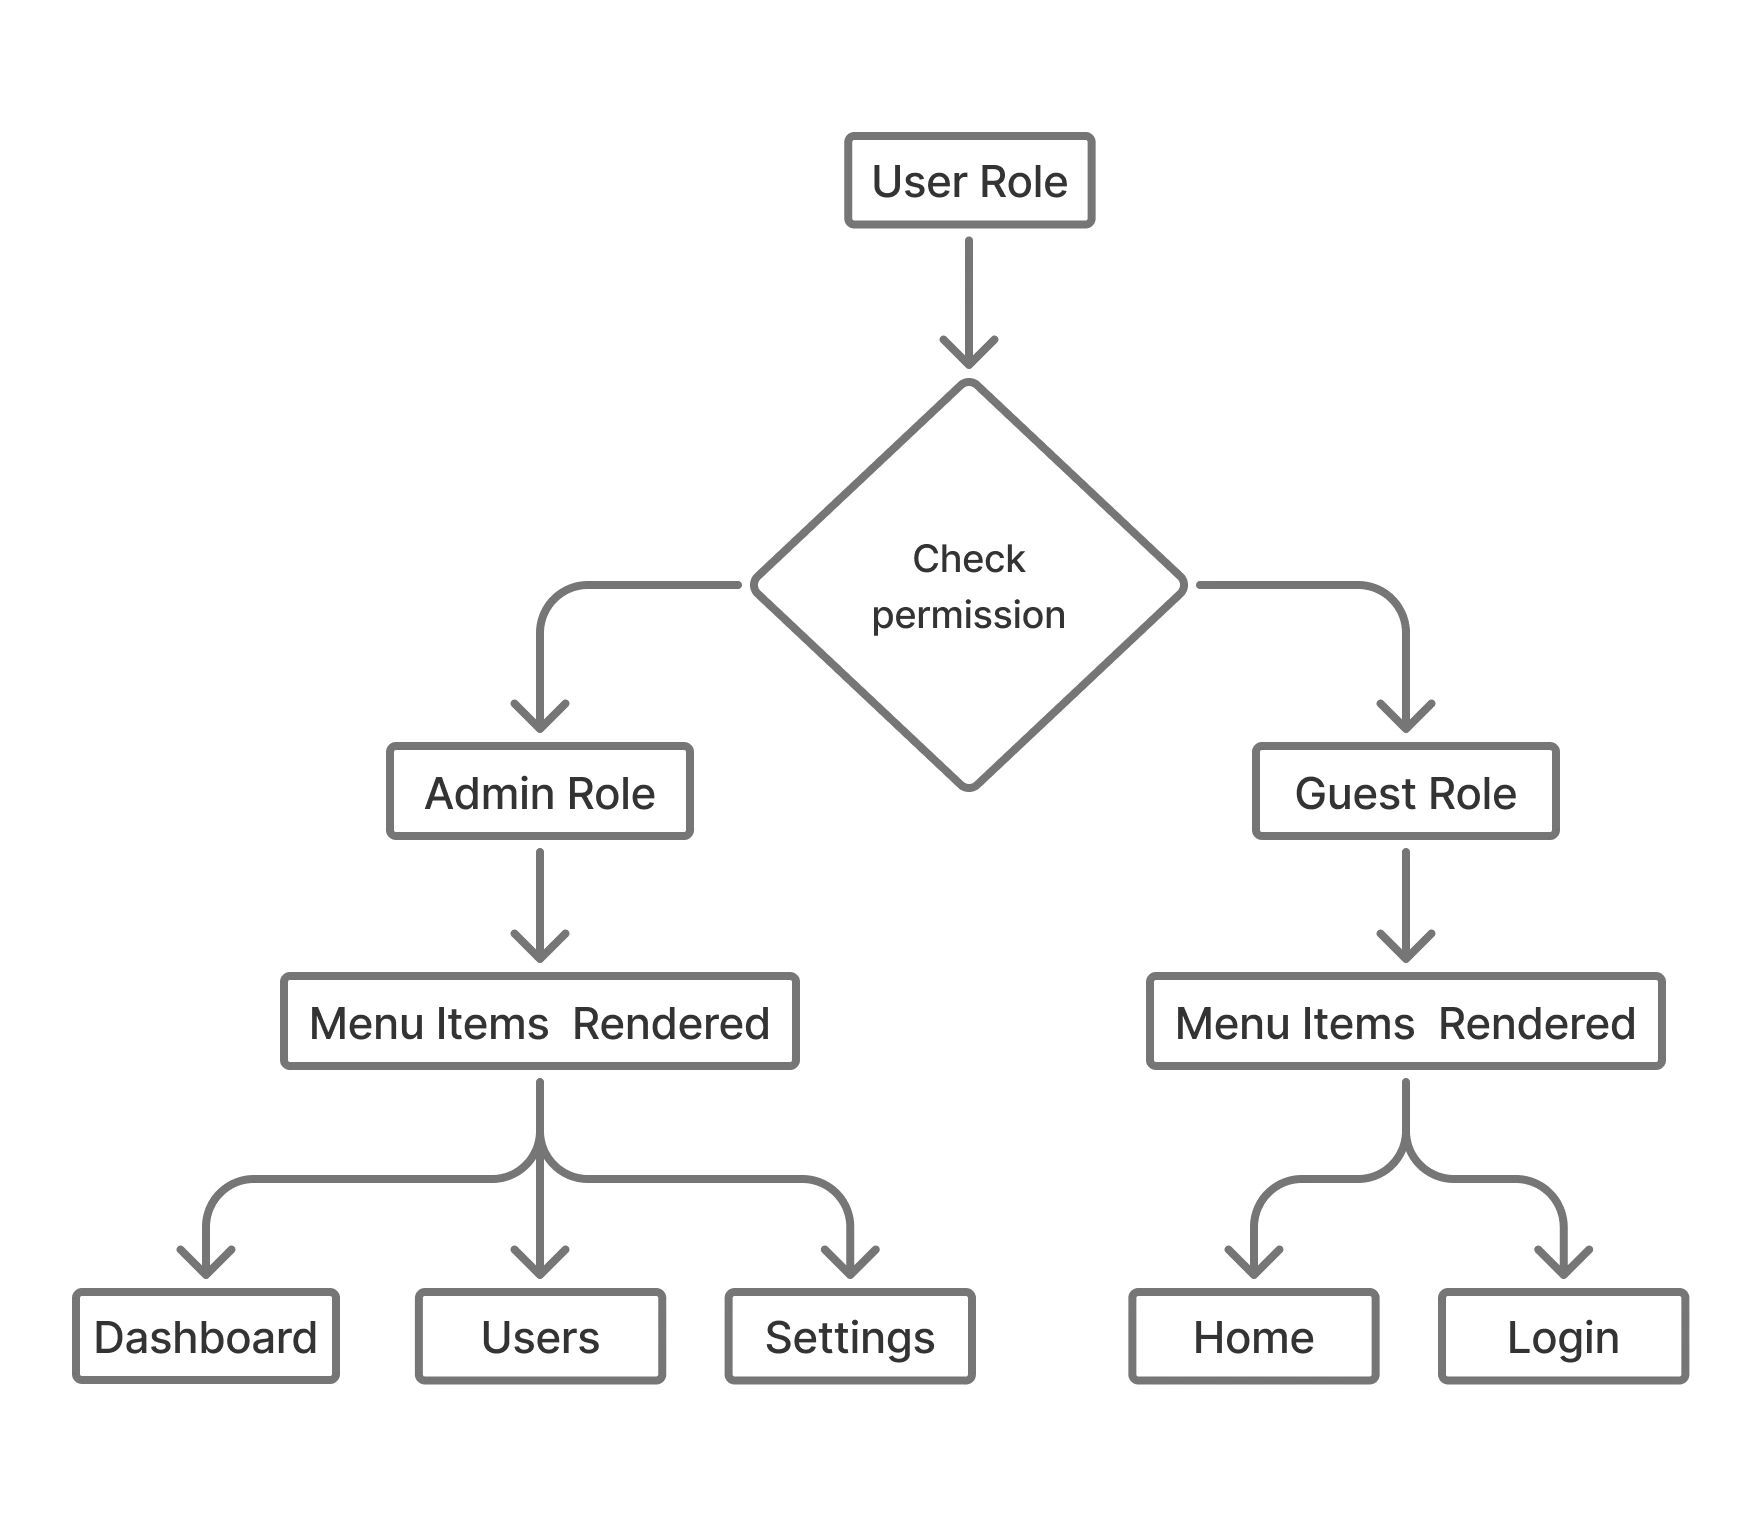
For example, an admin can access the dashboard and settings, while a guest sees only public pages.
React role-based navigation not only improves usability but also makes your app more secure, scalable, and maintainable as it grows.
Whether you’re building a SaaS platform or an internal admin panel, this guide will help you implement clean, dynamic navigation with roles.
And yes, you’ll get full working code and a GitHub repository to clone, modify, or use in your project.
What is Role-Based Access (RBAC) in React?
RBAC (Role-Based Access Control) is a popular method in frontend apps to control what users can see and do based on their roles.
It’s a simple but powerful system where roles like “admin,” “editor,” or “viewer” are assigned to users, and your UI adapts accordingly.
In React, role based access control helps you build a more flexible and secure app. For example:
| User Role | Menu Access |
|---|---|
| Admin | Dashboard, Users, Settings, Reports |
| Editor | Dashboard, Content, Reports |
| Guest | Home, About, Login |
You can define roles, attach them to users, and use conditional logic to show or hide parts of the UI, like your menu items, dynamically.
This is the core idea behind a ReactJS RBAC menu, which we’ll implement with real code and examples.

Project Setup: How to Kickstart Your React App?
Before jumping into the logic, let’s set up your project for ReactJS menu rendering based on user roles.
You can either start fresh with create-react-app or integrate it into your existing app.
Required Libraries:
- react-router-dom for routing
- react context for role management
- Optional: redux for global state (for large apps)
Suggested Folder Structure:
/src
/components
– Sidebar.js
– ProtectedRoute.js
/contexts
– AuthContext.js
/routes
– routes.js
/utils
– roleUtils.js
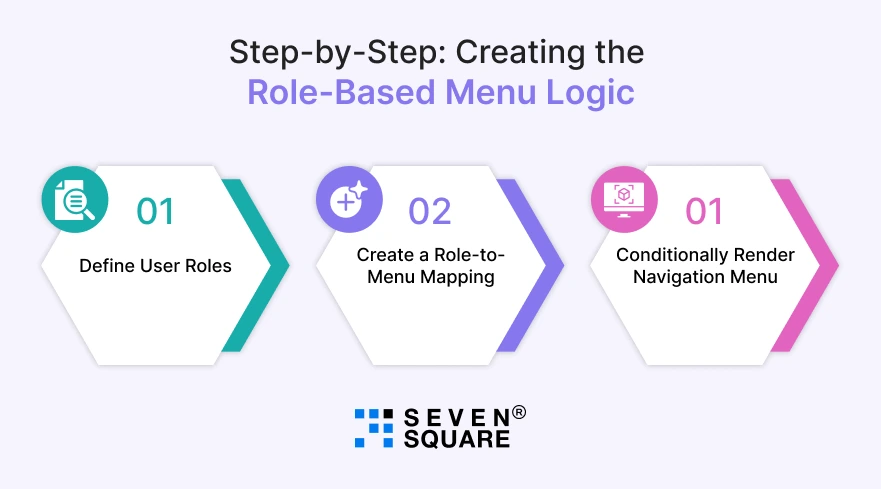
Step-by-Step: Creating the Role-Based Menu Logic

The first step in building a role based menu in ReactJS is to define a clear strategy that maps user roles to menu items.
This helps you dynamically generate the sidebar or navbar for different users, like admins, customers, or guests.
Step 1: Define User Roles
Use constants or enums to define your roles.
           // src/constants/roles.js
            export const ROLES = {
              ADMIN: 'admin',
              USER: 'user',
              GUEST: 'guest',
            };
Step 2: Create a Role-to-Menu Mapping
Define which menu items should be shown for each role.
           // src/data/menuConfig.js
            export const menuByRole = {
              admin: [
              { path: '/dashboard', label: 'Dashboard' },
              { path: '/users', label: 'Manage Users' },
              { path: '/settings', label: 'Settings' },
              ],
              user: [
              { path: '/dashboard', label: 'Dashboard' },
              { path: '/profile', label: 'My Profile' },
              ],
              guest: [
              { path: '/', label: 'Home' },
              { path: '/login', label: 'Login' },
              ],
            };
Step 3: Conditionally Render Navigation Menu
Render the menu based on the user’s current role.
           // src/components/Sidebar.js
            import React, { useContext } from 'react';
            import { NavLink } from 'react-router-dom';
            import { AuthContext } from '../contexts/AuthContext';
            import { menuByRole } from '../data/menuConfig';

            const Sidebar = () => {
              const { role } = useContext(AuthContext);
              const menuItems = menuByRole[role] || [];

              return (
              <nav className="sidebar">
                <ul>
                  {menuItems.map(item => (
                    <li key={item.path}>
                      <NavLink to={item.path}>{item.label}</NavLink>
                      </li>
                  ))}
                </ul>
              </nav>
              );
            };

            export default Sidebar;
With this setup, you’ve implemented a dynamic sidebar in React that updates based on the user role. It’s clean, reusable, and scalable.
How to Use React Context API for Role Management?
To manage the role throughout your app, the React Context API is perfect, especially for small to mid-sized applications.
It allows you to manage global state (like user roles) without external libraries like Redux.
Step 1: Create the AuthContext
           // src/contexts/AuthContext.js
            import React, { createContext, useState } from 'react';
            import { ROLES } from '../constants/roles';

            export const AuthContext = createContext();

            export const AuthProvider = ({ children }) => {
              const [role, setRole] = useState(ROLES.GUEST); // Default role

              return (
              <AuthContext.Provider value={{ role, setRole }}>
                {children}
              </AuthContext.Provider>
              );
            };
Step 2: Use AuthContext in Sidebar or Navbar
You can now access the role anywhere using useContext.
const { role } = useContext(AuthContext);
This is the foundation of a clean ReactJS RBAC menu that supports React role based access across components.
What is the Dynamic Menu Rendering Component?
Let’s finalize the React dynamic menu rendering with a reusable component.
           // src/components/DynamicMenu.js
            import React from 'react';
            import { NavLink } from 'react-router-dom';

            const DynamicMenu = ({ role, menuByRole }) => {
              const menuItems = menuByRole[role] || [];

              return (
              <ul className="menu">
                {menuItems.map(item => (
                  <li key={item.path}>
                    <NavLink to={item.path}>{item.label}</NavLink>
                  </li>
                ))}
              </ul>
              );
            };

            export default DynamicMenu;
Example Usage:
<DynamicMenu role="admin" menuByRole={menuByRole} />
This approach is modular and easy to maintain. Whether you’re rendering a navbar, sidebar, or dropdown, this pattern ensures secure navigation that scales.
How to Secure Your Routes with Role-Based Routing?
Besides menus, you should also protect the routes themselves. Here’s how to integrate role based routing in React using react-router-dom.
Step 1: Create a Protected Route Wrapper
          // src/components/ProtectedRoute.js
              import React, { useContext } from 'react';
              import { Navigate } from 'react-router-dom';
              import { AuthContext } from '../contexts/AuthContext';

              const ProtectedRoute = ({ children, allowedRoles }) => {
                const { role } = useContext(AuthContext);

                return allowedRoles.includes(role) ? (
                children
                ) : (
                <Navigate to="/unauthorized" />
                );
              };

              export default ProtectedRoute;
Step 2: Wrap Protected Pages
            <Route
              path="/users"
              element={
              <ProtectedRoute allowedRoles={['admin']}>
                <ManageUsers />
              </ProtectedRoute>
              }
            />
This adds a layer of secure routing in ReactJS, ensuring unauthorized users can’t access restricted pages, even if they try to type the URL manually.
Complete GitHub Code for Role-Based Menu Rendering in ReactJs.
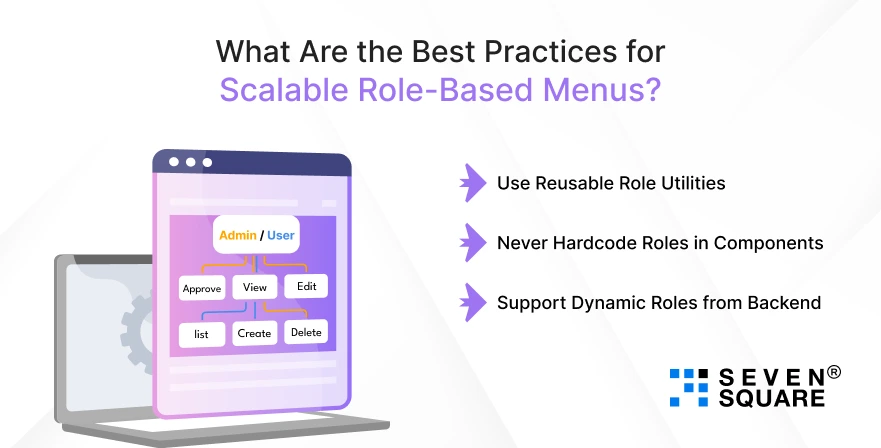
What Are the Best Practices for Scalable Role-Based Menus?

If you’re planning to scale your React app, follow these React RBAC patterns and best practices to avoid messy, hard-to-maintain code:
1. Use Reusable Role Utilities
- Create utility functions like hasAccess(role, route) or getMenuForRole(role) to centralize your role-checking logic.
- Avoid sprinkling if (role === ‘admin’) all over your components.
2. Never Hardcode Roles in Components
- Instead of writing logic directly inside JSX, use abstraction. For example, use a <ProtectedRoute /> or <RoleBasedMenu /> component.
3. Support Dynamic Roles from Backend
- Instead of storing roles locally or hardcoding them, fetch them securely via an API (e.g., from a decoded JWT).
- This ensures your menu reflects real-time permissions.
These tips ensure you’re building a scalable role based menu in React, one that’s flexible enough to grow with your business.
Want a Customized ReactJs Solution? Contact Us Now!
Build Smarter Navigation with RBAC in React
By implementing role-based rendering in ReactJS, you’re building smarter, safer, and more scalable apps.
With React role-based navigation, you can cleanly separate what different users see, improving both the user experience and app security.
In this blog, you’ve learned:
- What is role based access control in React.
- How to render menus dynamically based on user roles.
- Best practices for scalable role logic.
- And yes, you got a full working example with code.
FAQs
- A role-based menu in React means showing different navigation items based on the user’s assigned role (e.g., admin, user, or guest).
- Yes, Redux is great for larger apps. For simpler apps, the React Context API is lightweight and easier to use for managing role-based state.
- Wrap your routes in a custom component like
that checks if the current user has permission to access that route.
- Use a centralized role system with clear mappings between roles and accessible pages.
- Combine with route guards and menu filters for full control.