Ever wished your app could read images like a human?
With Flutter OCR technology, your app can scan any image and instantly convert it into editable text.
This “scan and convert image to text” feature can be a game-changer.
From receipt scanning for expense tracking, ID verification for onboarding, to note digitization for education, OCR has endless applications.
The best part? Flutter makes this process cross-platform, so your OCR app runs smoothly on both Android and iOS.
In this blog, you’ll build a Flutter OCR app from scratch, step-by-step, with full code and a GitHub repository you can fork and customize.
By the end, you’ll have a fully functional image-to-text converter ready to integrate into your projects.
How OCR Works in Flutter? (The Simple Version)
At its core, OCR (Optical Character Recognition) is a technology that detects and extracts text from images.
In a Flutter app, this means your code takes an image, captured from a camera or selected from the gallery, processes it, & outputs the recognized text as editable data.
There are two popular ways to implement Flutter text recognition:
- Google ML Kit Text Recognition: Works online or offline, fast and reliable for most languages.
- Tesseract Flutter OCR: An open-source OCR engine that can work entirely offline, great for privacy-focused apps.
Here’s the OCR process in simple terms:
Image → Preprocessing → Text Extraction → Output
- Image: Capture via camera or pick from gallery.
- Preprocessing: Adjust brightness, contrast, and alignment for better accuracy.
- Text Extraction: ML Kit or Tesseract detects the characters.
- Output: Recognized text is displayed or stored in your app.
This is your OCR Flutter, which is simple, efficient, and incredibly powerful.
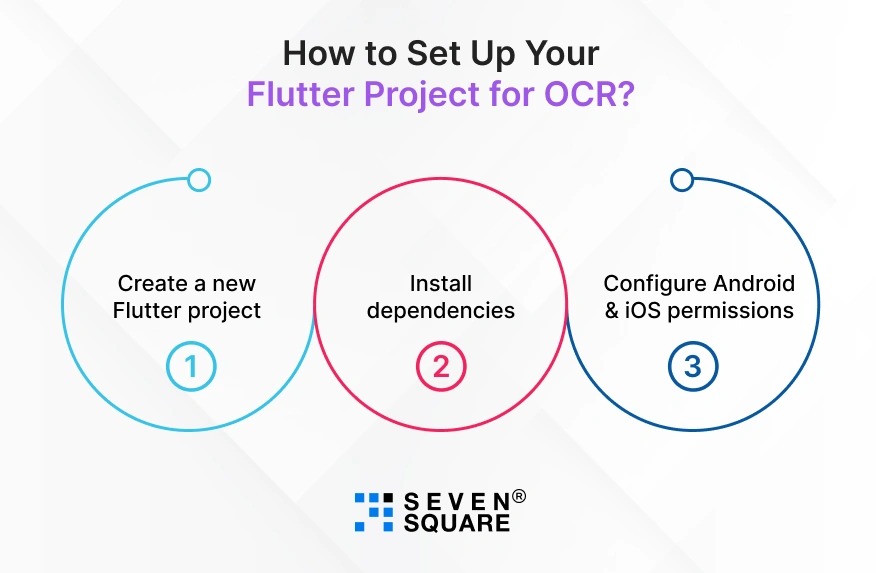
How to Set Up Your Flutter Project for OCR?

If you’re following this Flutter scan image to text tutorial, the first step is to set up your environment.
Step 1: Create a new Flutter project
        flutter create flutter_ocr_app
        cd flutter_ocr_app
Step 2: Install dependencies
We’ll use:
- google_mlkit_text_recognition for ML Kit text recognition.
- tesseract_ocr for offline OCR.
Add these to your pubspec.yaml:
        dependencies:
          flutter:
            sdk: flutter
          google_mlkit_text_recognition: ^0.7.0
          tesseract_ocr: ^0.4.0
          image_picker: ^1.0.7
Then run:
flutter pub get
Step 3: Configure Android & iOS permissions
Android: In android/app/src/main/AndroidManifest.xml add:
        <uses-permission android:name="android.permission.CAMERA" />
        <uses-permission android:name="android.permission.READ_EXTERNAL_STORAGE" />
        <uses-permission android:name="android.permission.WRITE_EXTERNAL_STORAGE" />
iOS: In ios/Runner/Info.plist add:
        <key>NSCameraUsageDescription</key>
        <string>We need camera access to scan images for text.</string>
        <key>NSPhotoLibraryUsageDescription</key>
        <string>We need photo library access to select images for OCR.</string>
Your project is now ready to start scanning and converting images to text in Flutter.
How to Capture or Select an Image in Flutter?
Before we can perform Flutter camera OCR, we need to let users capture a photo or pick one from the gallery.
Here’s a simple method using image_picker:
        import 'package:image_picker/image_picker.dart';
        import 'dart:io';
        File? _image;
        Future _pickImage(ImageSource source) async {
          final pickedFile = await ImagePicker().pickImage(source: source);
          if (pickedFile != null) {
          setState(() {
            _image = File(pickedFile.path);
          });
          }
        }
And buttons to trigger it:
        Row(
          mainAxisAlignment: MainAxisAlignment.center,
          children: [
          ElevatedButton(
            onPressed: () => _pickImage(ImageSource.camera),
            child: Text("Capture Image"),
          ),
          SizedBox(width: 10),
          ElevatedButton(
            onPressed: () => _pickImage(ImageSource.gallery),
            child: Text("Select from Gallery"),
          ),
          ],
        )
How to Convert Image to Text Using OCR?
Now for the main part: Image to text in Flutter.
We’ll provide two methods:
- Online OCR (ML Kit)
- Offline OCR in Flutter (Tesseract)
ML Kit Method
        import 'package:google_mlkit_text_recognition/google_mlkit_text_recognition.dart';

        Future _extractTextMLKit() async {
          if (_image == null) return;

          final inputImage = InputImage.fromFile(_image!);
          final textRecognizer = TextRecognizer();
          final RecognizedText recognizedText = await textRecognizer.processImage(inputImage);

          setState(() {
          extractedText = recognizedText.text;
          });

          textRecognizer.close();
        }
Tesseract Method (Offline OCR)
        import 'package:tesseract_ocr/tesseract_ocr.dart';

        Future _extractTextTesseract() async {
          if (_image == null) return;

          final text = await TesseractOcr.extractText(_image!.path);
          setState(() {
          extractedText = text;
          });
        }
How to Display and Edit Extracted Text?
Once OCR is done, display the text in a scrollable, editable view so users can copy, share, or save it.
        String extractedText = "";

        Widget _displayExtractedText() {
          return Column(
          children: [
            Expanded(
              child: SingleChildScrollView(
                padding: EdgeInsets.all(8),
                child: SelectableText(
                  extractedText,
                  style: TextStyle(fontSize: 16),
                ),
              ),
            ),
            Row(
              mainAxisAlignment: MainAxisAlignment.center,
              children: [
                ElevatedButton(
                  onPressed: () {
                      Clipboard.setData(ClipboardData(text: extractedText));
                  },
                  child: Text("Copy"),
                ),
                SizedBox(width: 10),
                ElevatedButton(
                  onPressed: () {
                    // Implement file saving logic
                  },
                  child: Text("Save"),
                ),
              ],
            ),
          ],
          );
        }
Optional: Integrate the Google Translate API to translate the extracted text into another language.
End-to-End Code Implementation for Scan and Convert Image to Text
Here’s the complete working Flutter OCR example combining image selection, ML Kit & Tesseract OCR, and text display:
        import 'dart:io';
        import 'package:flutter/material.dart';
        import 'package:image_picker/image_picker.dart';
        import 'package:google_mlkit_text_recognition/google_mlkit_text_recognition.dart';
        import 'package:tesseract_ocr/tesseract_ocr.dart';
        import 'package:flutter/services.dart';

        void main() => runApp(MaterialApp(home: OCRApp()));

        class OCRApp extends StatefulWidget {
          @override
          _OCRAppState createState() => _OCRAppState();
        }

        class _OCRAppState extends State {
          File? _image;
          String extractedText = "";

          Future _pickImage(ImageSource source) async {
          final pickedFile = await ImagePicker().pickImage(source: source);
          if (pickedFile != null) {
            setState(() {
              _image = File(pickedFile.path);
              extractedText = "";
            });
          }
          }

          Future _extractTextMLKit() async {
          if (_image == null) return;
          final inputImage = InputImage.fromFile(_image!);
          final textRecognizer = TextRecognizer();
          final RecognizedText recognizedText =
              await textRecognizer.processImage(inputImage);
          setState(() {
            extractedText = recognizedText.text;
          });
          textRecognizer.close();
          }

          Future _extractTextTesseract() async {
          if (_image == null) return;
          final text = await TesseractOcr.extractText(_image!.path);
          setState(() {
            extractedText = text;
          });
          }

          Widget _displayExtractedText() {
          return Column(
            children: [
              Expanded(
                child: SingleChildScrollView(
                  padding: EdgeInsets.all(8),
                  child: SelectableText(
                    extractedText,
                    style: TextStyle(fontSize: 16),
                  ),
                ),
              ),
              Row(
                mainAxisAlignment: MainAxisAlignment.center,
                children: [
                  ElevatedButton(
                    onPressed: () {
                      Clipboard.setData(ClipboardData(text: extractedText));
                    },
                    child: Text("Copy"),
                  ),
                ],
              ),
            ],
          );
          }

          @override
          Widget build(BuildContext context) {
          return Scaffold(
            appBar: AppBar(title: Text("Flutter OCR App")),
            body: Column(
              children: [
                if (_image != null) Image.file(_image!, height: 200),
                Row(
                  mainAxisAlignment: MainAxisAlignment.center,
                  children: [
                      ElevatedButton(
                      onPressed: () => _pickImage(ImageSource.camera),
                      child: Text("Capture Image"),
                    ),
                    SizedBox(width: 10),
                    ElevatedButton(
                      onPressed: () => _pickImage(ImageSource.gallery),
                      child: Text("Select from Gallery"),
                    ),
                  ],
                ),
                Row(
                  mainAxisAlignment: MainAxisAlignment.center,
                  children: [
                    ElevatedButton(
                      onPressed: _extractTextMLKit,
                      child: Text("Extract with ML Kit"),
                    ),
                    SizedBox(width: 10),
                    ElevatedButton(
                      onPressed: _extractTextTesseract,
                      child: Text("Extract with Tesseract"),
                    ),
                  ],
                ),
                Expanded(child: _displayExtractedText()),
              ],
            ),
          );
          }
        }
This Flutter OCR example with GitHub lets you scan images and convert them to text using either ML Kit or offline Tesseract OCR.
What Are the Pro Tips to Improve OCR Accuracy in Flutter?
If you want highly accurate results when converting images to text in Flutter, a little image preprocessing goes a long way:
- Increase Contrast: Helps separate text from background.
- Convert to Grayscale: Reduces noise and improves recognition.
- Fix Rotation: Ensure the image is aligned before scanning.
You can also choose between offline OCR and online OCR based on your needs:
- Offline OCR (Tesseract): Faster for repeated scans, no internet needed, better for privacy.
- Online OCR (ML Kit): Handles multiple languages and complex scripts more accurately.
When to choose what?
- Use ML Kit if you need multilingual support and quick setup.
- Use Tesseract if you want everything processed offline for speed and privacy.
Following these tips will improve OCR accuracy in Flutter significantly, especially in low-light or low-quality image conditions.
Want a Custom Flutter App? Contact Us Now!
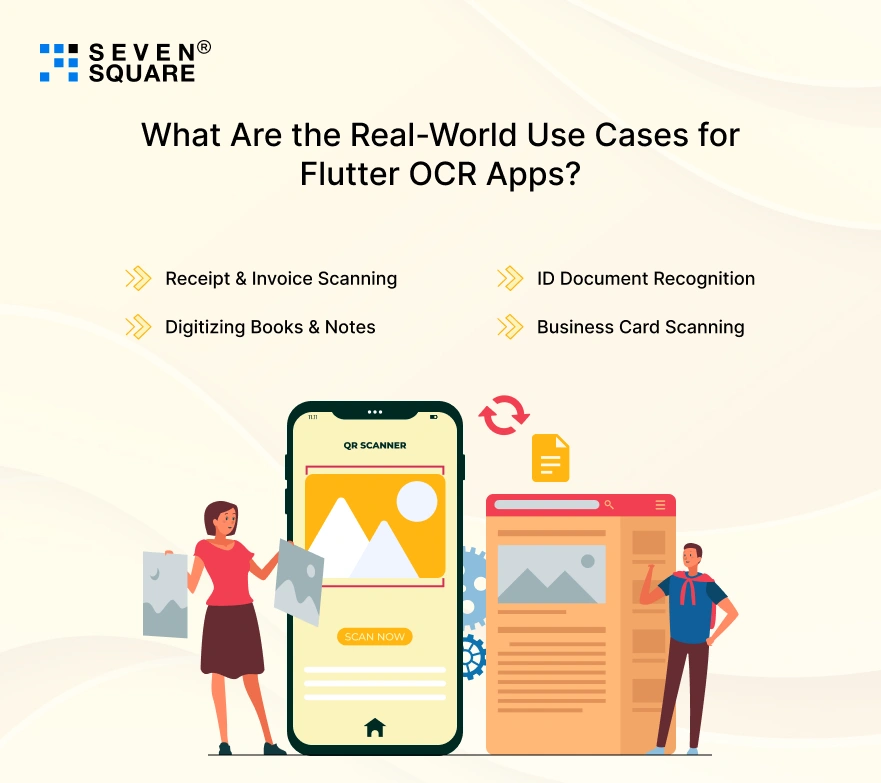
What Are the Real-World Use Cases for Flutter OCR Apps?

With this tutorial, you can build an image-to-text scanner app in Flutter that fits countless industries:
- Receipt & Invoice Scanning: Automate expense reports for businesses.
- ID Document Recognition: Speed up KYC and onboarding in fintech apps.
- Digitizing Books & Notes: Turn printed text into editable files for students and educators.
- Business Card Scanning: Instantly save contact details to your CRM.
By mastering Flutter OCR, you’re having features that can add massive value to any mobile application.
FAQs
- Yes, using Tesseract Flutter OCR, you can process images entirely offline to make it faster and more privacy-friendly for sensitive data.
- ML Kit is great for multilingual support and quick setup, while Tesseract is better for offline, privacy-focused applications.
- Your choice depends on your app’s needs.
- Capture an image → Preprocess → Apply ML Kit/Tesseract → Display editable text.
- This blog covers the step-by-step OCR Flutter example with full code.
- Accuracy depends on image quality, lighting, and preprocessing. Using contrast adjustment and grayscale improves results significantly.
- Yes, simply add ML Kit or Tesseract dependencies, configure permissions, and integrate the scanning logic into your current project.